 Context
| ARMWSD Configuration |
 Context Context
|
The configuration screen allows the user to configure the Parts, Help, Communications details, Command actions and Protection options and is shown below for each tab selection.
Click on the required tabs to change or check the relevant options.
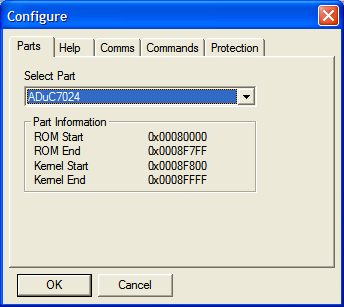 .
.Select the part that you intend downloading to in the Select Part selection box.
Information about the currently selected part is displayed in the Part Information group box.
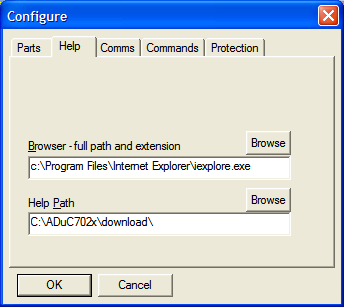 .
.In the Browser edit box type the full path and application name of the browser you would like to use for help.
In the Help Path edit box type the full path to the help files. If you do not know where they are you can search for AD_B.html and use its path.
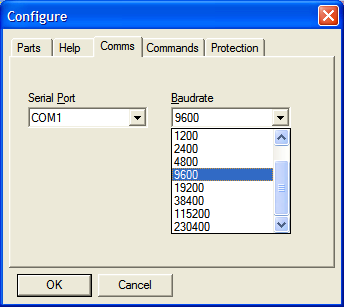 .
.Choose the desired RS232 Serial Port and Baudrate.
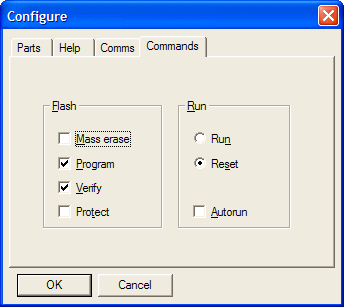 .
.The commands will be performed in the order they are shown on the screen.
Choose whether you want the part to be fully erased (Mass Erase) or else only the necessary parts are erased before programming. When Mass Erase is checked all the other options are disabled. The main use of Mass Erase is to remove the program protection which can only be done with Mass Erase.
Select the Program option to program the part using the file selected in the main window.
Select the Verify option if you want the program verified.
Select the Protection option if you want the program protected. Checking this option automatically opens the protection tab. Unchecking this option removes the protection tab.
Select the Run option if you want your program to start executing from zero when you press the Run button.
Select the Reset option if you want your program to start executing via a software reset when you press the Reset button.
Note that the Run/Reset button in the main window will change its name to reflect the selection made here.
Check the Autorun option if you want your program to start executing automatically after a download.
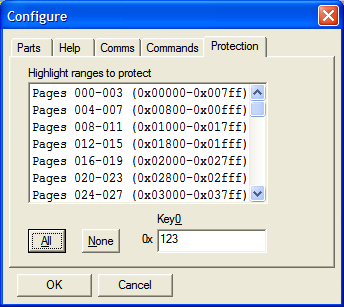 .
.In this tab you can choose multiple blocks of pages to be protected. The resulting protection pattern is shown below the selection.
The All and None buttons can be used to set and clear all the selections.
A protection key can be specified if desired.